
Welcome to today’s “What’s That Feature?” Today we will look at “Canned Responses,” a feature of Email to Case Premium.
Customer support teams face a common challenge: consistent, personalized communication that also maximizes productivity.
Canned Responses streamline the support process, standardizing language while empowering support agents to customize the text as appropriate for each case.
Below we’ll explore the benefits of Canned Responses, and how you can easily integrate this Email to Case Premium feature into your Salesforce Org.
Eliminate Multiple Steps
To create consistent language in customer communication, most support teams work ad hoc, cutting and pasting text from multiple windows, and searching through spreadsheets to find the information they need.
There is also the multiple step process of stylizing the text, adding attachments, and including contact information. Each step adds a higher chance of making a mistake.
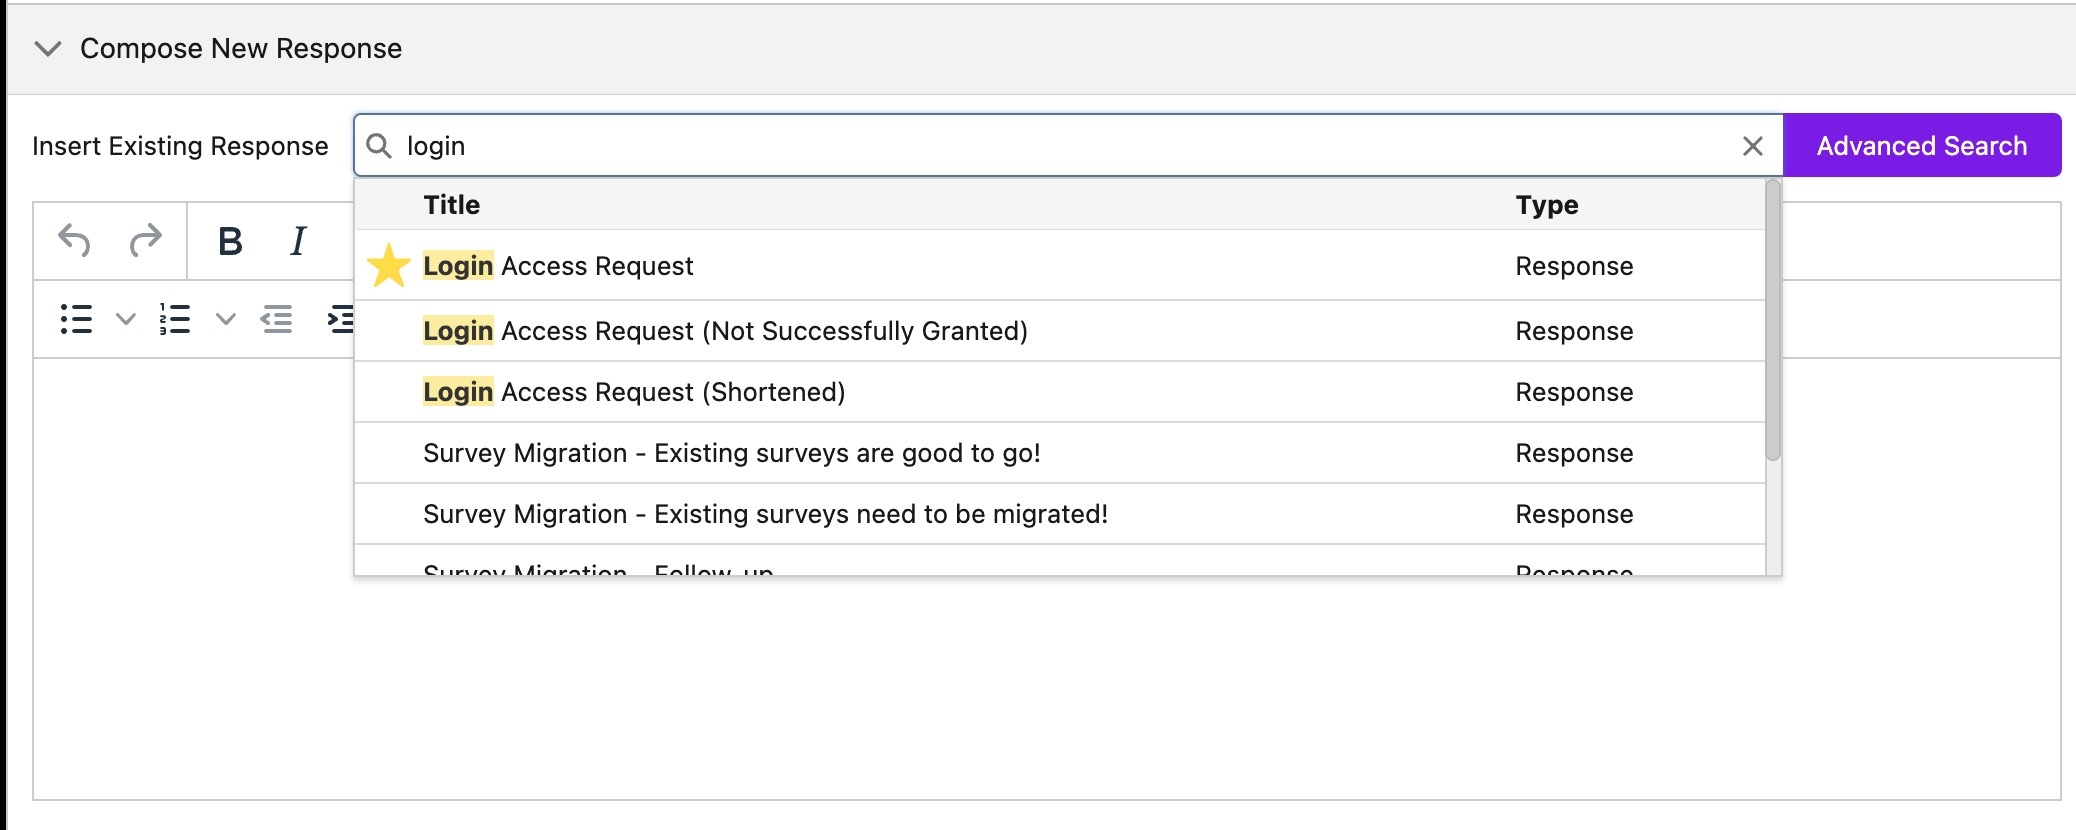
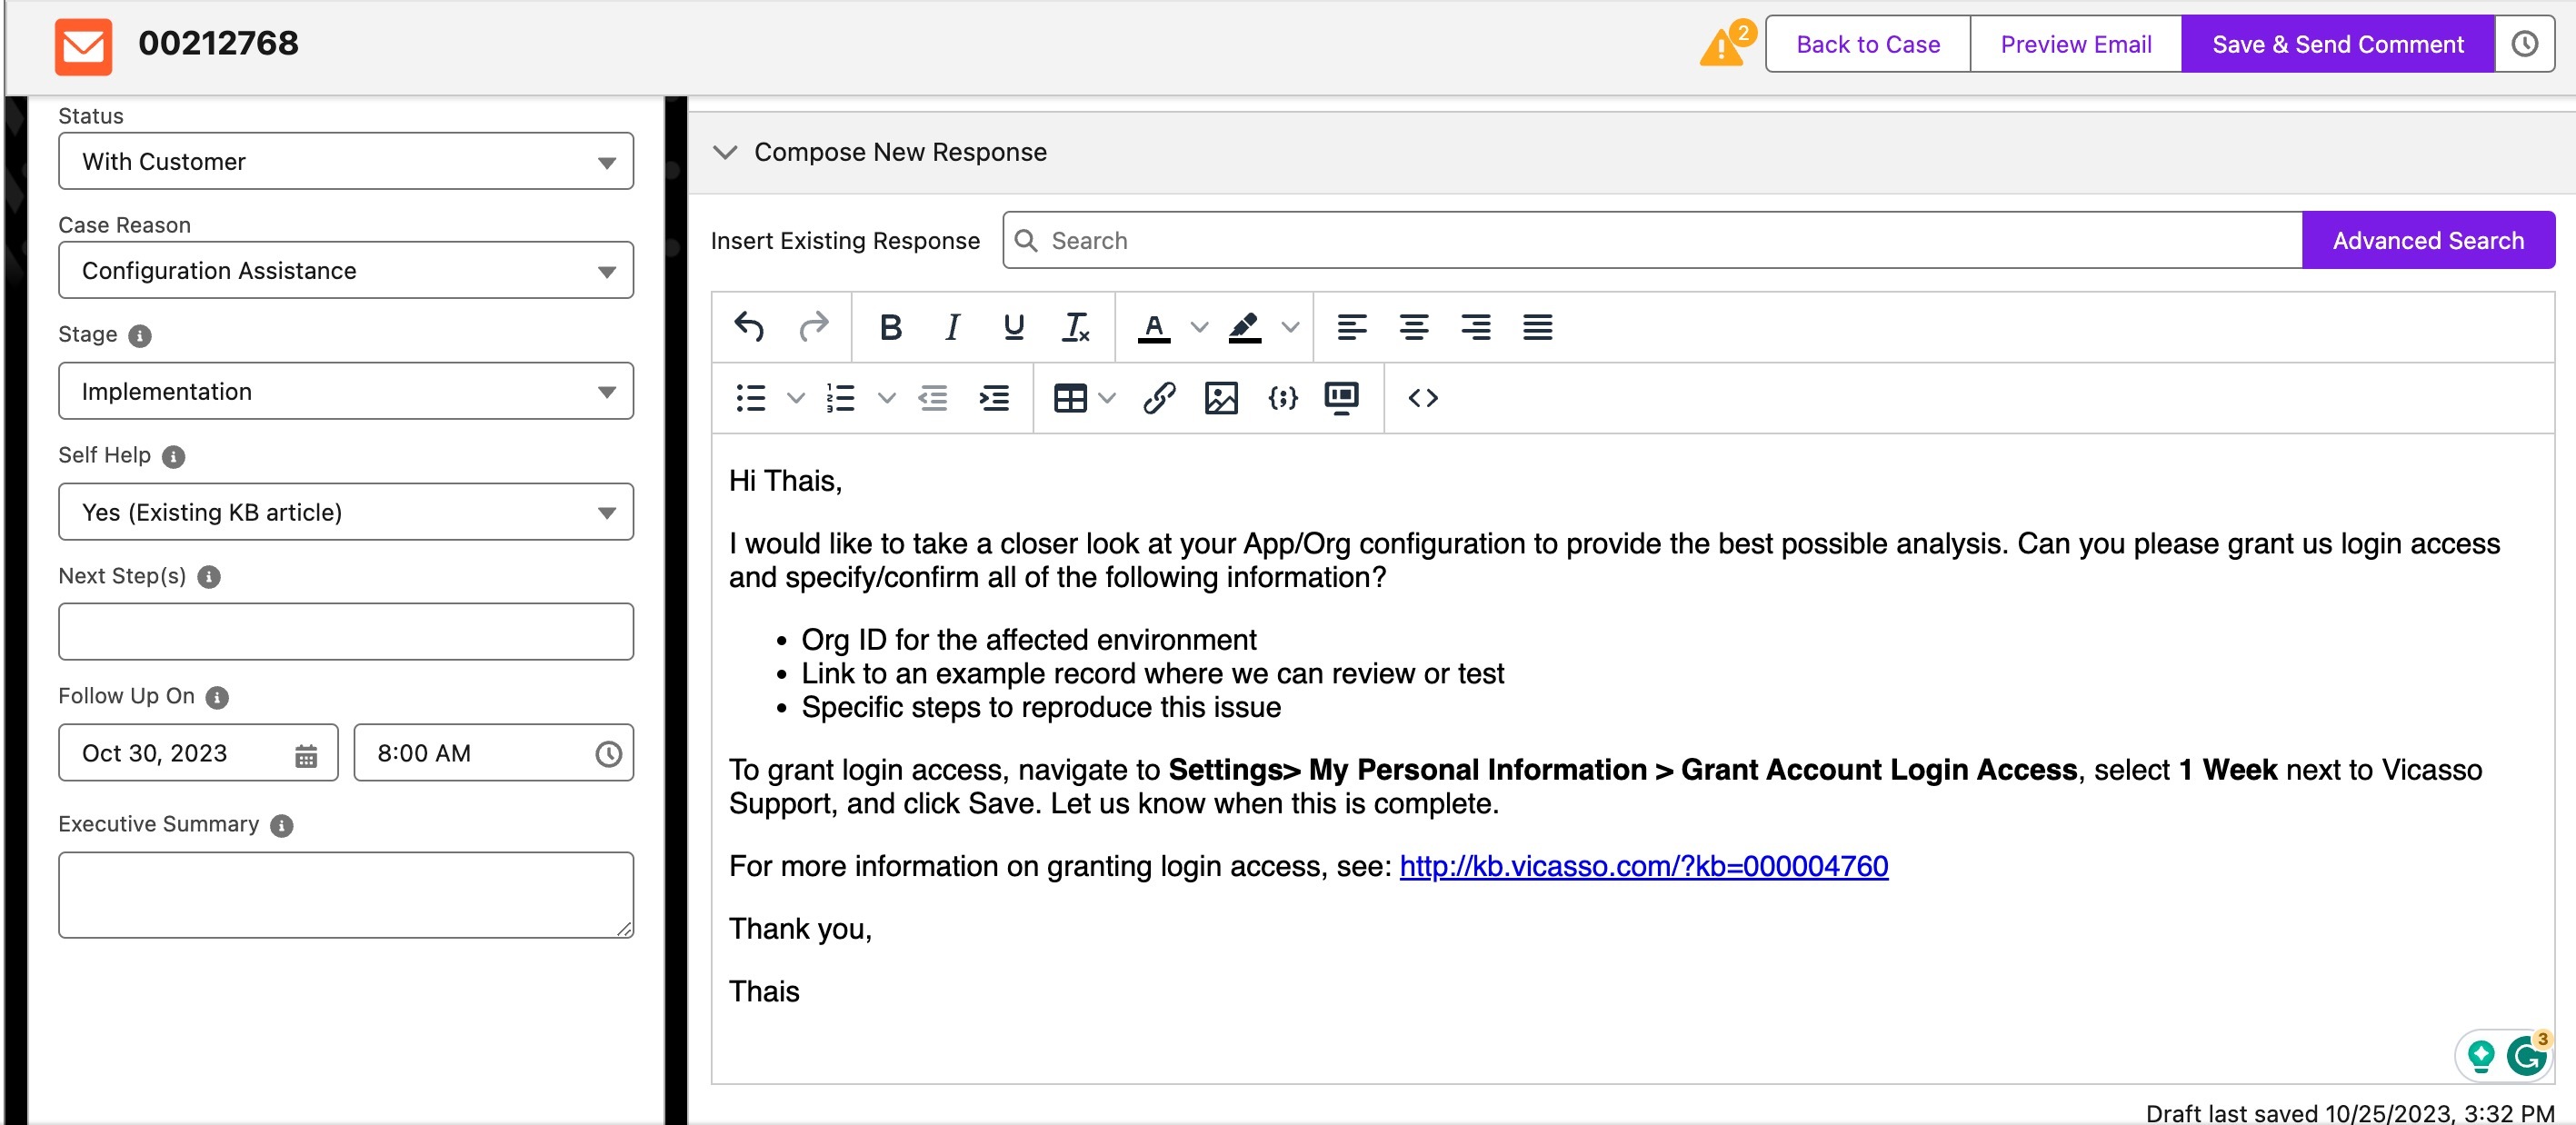
When using Email to Case Premium, agents access a streamlined page with all the necessary information. The Canned Responses feature offers a drop-down menu of pre-written responses while also allowing you to populate relevant information such as the customer’s name. Corresponding attachments are readily available, which means no more embarrassing follow-up emails apologizing for forgotten attachments!
Increase Productivity
Agents often encounter the same customer issues throughout the day. Without a process put in place, they end up writing responses to similar questions on-the-fly, or re-asking questions for clarification, resulting in inconsistency and loss of productivity.
With Email to Case Premium, agents do not need to recall resolutions or ask themselves if the content is accurate. Additionally, there is no need to check if the content is accurate because experts already approved the pre-written responses.
Canned Responses are just one of the many customer support features that Email to Case Premium has to offer.
Get it in the Salesforce AppExchange and start your 14-day free trial today!
If you are already an Email to Case Premium customer, follow the steps below to start using canned responses.
- Use the App Launcher (Lightning) or the App Menu (Classic) to locate the Email to Case Premium app.
- Once in the app, select the Email to Case Premium Setup tab. Click on the New Comment Page tab.
- To enable Canned Responses, ensure that the Enable Canned Responses setting is on.
- Provide your agents the ability to search for Canned Responses either by their title or text body by enabling the Search Canned Response Text option. This becomes increasingly helpful as you add more Canned Responses to your Org and as you onboard new agents.
- Click the Save button and select the Canned Responses object tab to get started with creating your own Canned Responses.

